
Key takeaways
- The faceplate, the plate that shows on the frame, is matched to the frame: HES lists options for ANSI metal jambs, aluminum frames and wood with four-point mounting.
- HES designed its no-cut strikes to work with an unmodified, plumb and square door frame, with a minimum 1/8-inch gap between door and frame.
- On an aluminum frame with a blade stop, HES's 9400 to 9800 instructions say an HES 9000-ASB, sold separately, is necessary to provide a secure installation.
- Three of the four sheets say converting the strike to fail safe negates the fire rating on the series they name.
Identify
Which HES strike do I have, and what frame work does it need?
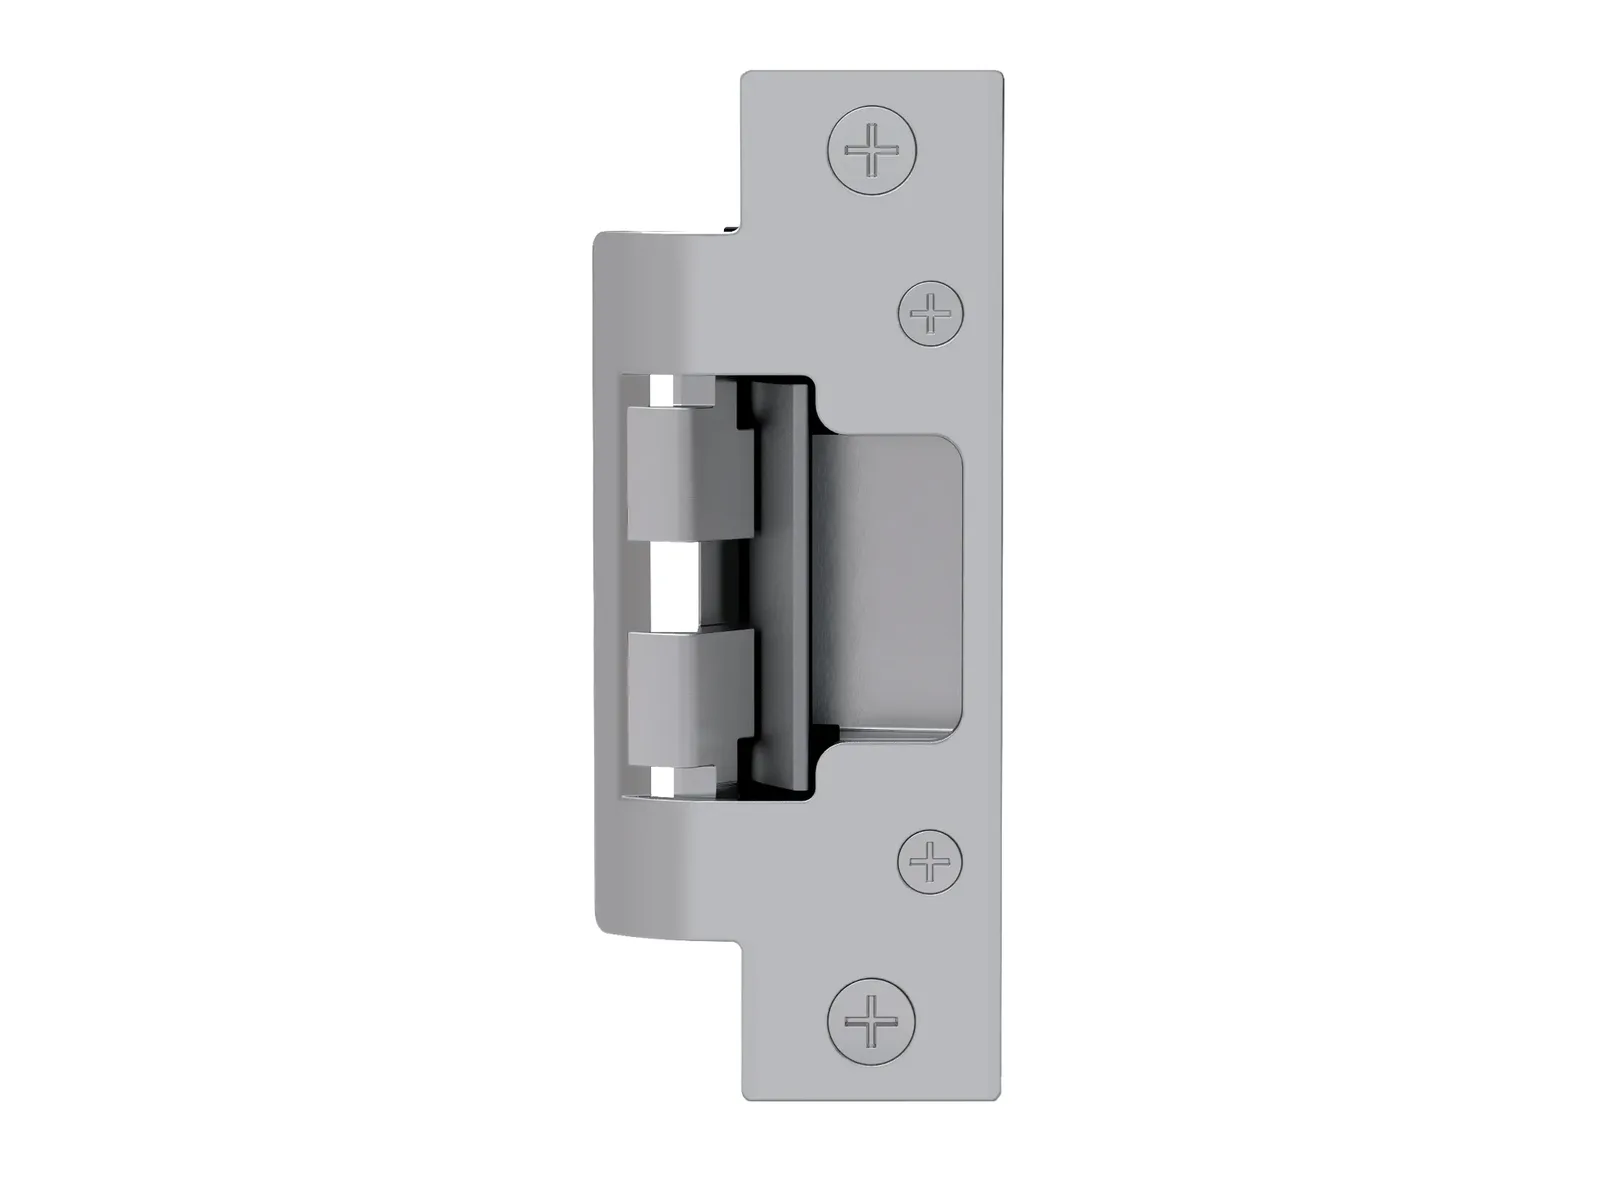
An ordinary strike is the metal plate in the door frame that the latch catches behind. HES says a standard electric strike requires a cutout on the side of the door frame so that the extended latchbolt (the part of the lock that slides out of the door edge) can exit the frame. Its no-cut design instead uses special internal ramps to eject the latchbolt from an unmodified frame.
A 4-7/8-inch ANSI strike prep is the standard-size strike opening in a frame.
For how electric strike installation works on any brand, see the general guide to installing an electric strike. For choosing between HES series by lock and latch, see the HES electric strike series guide. One surface-mounted series has its own page: HES 9600 electric strike.
| Family | Series | Frame preparation HES names | Frame types on HES's catalog page |
|---|---|---|---|
| Cut-in | 1006 | Prepare the frame using the appropriate lockset template and faceplate combination (1006 installation instructions) | 1006: metal, wood |
| Cut-in, 5000 family | 5000 and 5300 (one instruction sheet) | Prepare the frame for the lockset using the appropriate cutout template (5000 | 5300 Series installation instructions) | 5000: metal, wood |
| No-cut, 8000 family | 8000 | No cutting on the frame is required (8000 Series catalog page) | 8000: metal, wood, aluminum |
| No-cut, 8000 family | 8300 | No cutting on frame required for 4-7/8-inch ANSI prep (8300 Series catalog page) | 8300: metal, wood, aluminum |
| Surface-mounted | 9400, 9500, 9600, 9700 and 9800 (one combined instruction sheet) | Mark the holes from the dimensions provided, then punch, drill and tap them as required (9400 to 9800 installation instructions) | 9600: metal or wood frames, wood screws not included |
Source HES's installation sheets for the 1006, the 5000 | 5300 Series, the 8000 | 8300 Series and the 9400 to 9800 Series; its catalog pages for the 1006, 5000, 8000, 8300 and 9600; and its 8000/8300 troubleshooting guide.
Cutouts and faceplates
Which cutout and faceplate go with which frame?
The cut-in strikes go into a cutout made in the frame. The 1006 sheet gives its cutout dimensions in three groups, set by the jamb and the faceplate. The other two sheets in the table print a cutout template for each of their faceplates.
The same sheet draws separate cutout diagrams for mortise locks (a box lock set into the door edge) and cylindrical locks (a lock fitted through a round hole bored in the door), each noting the strike's horizontal centerline in relation to the lockset's. Its strike body depth is 1-11/16 inches, and it attaches to the jamb with the screws provided with the faceplate option kit.
HES describes the 5000 as designed for low profile openings where there is limited space behind the jamb; its strike body depth is 1-1/16 inches. The family's sheet uses two #12-24 x 1/2" mounting screws provided with the faceplate, and lists the HESCUT-MTK reusable metal template kit, sold separately.
The no-cut family's prep templates assume a standard 1-3/4" thick door and frame rabbet (the step in the frame the door closes against); for frames with extra snap-on trim or casing, HES says to consider the extended 801E faceplate instead.
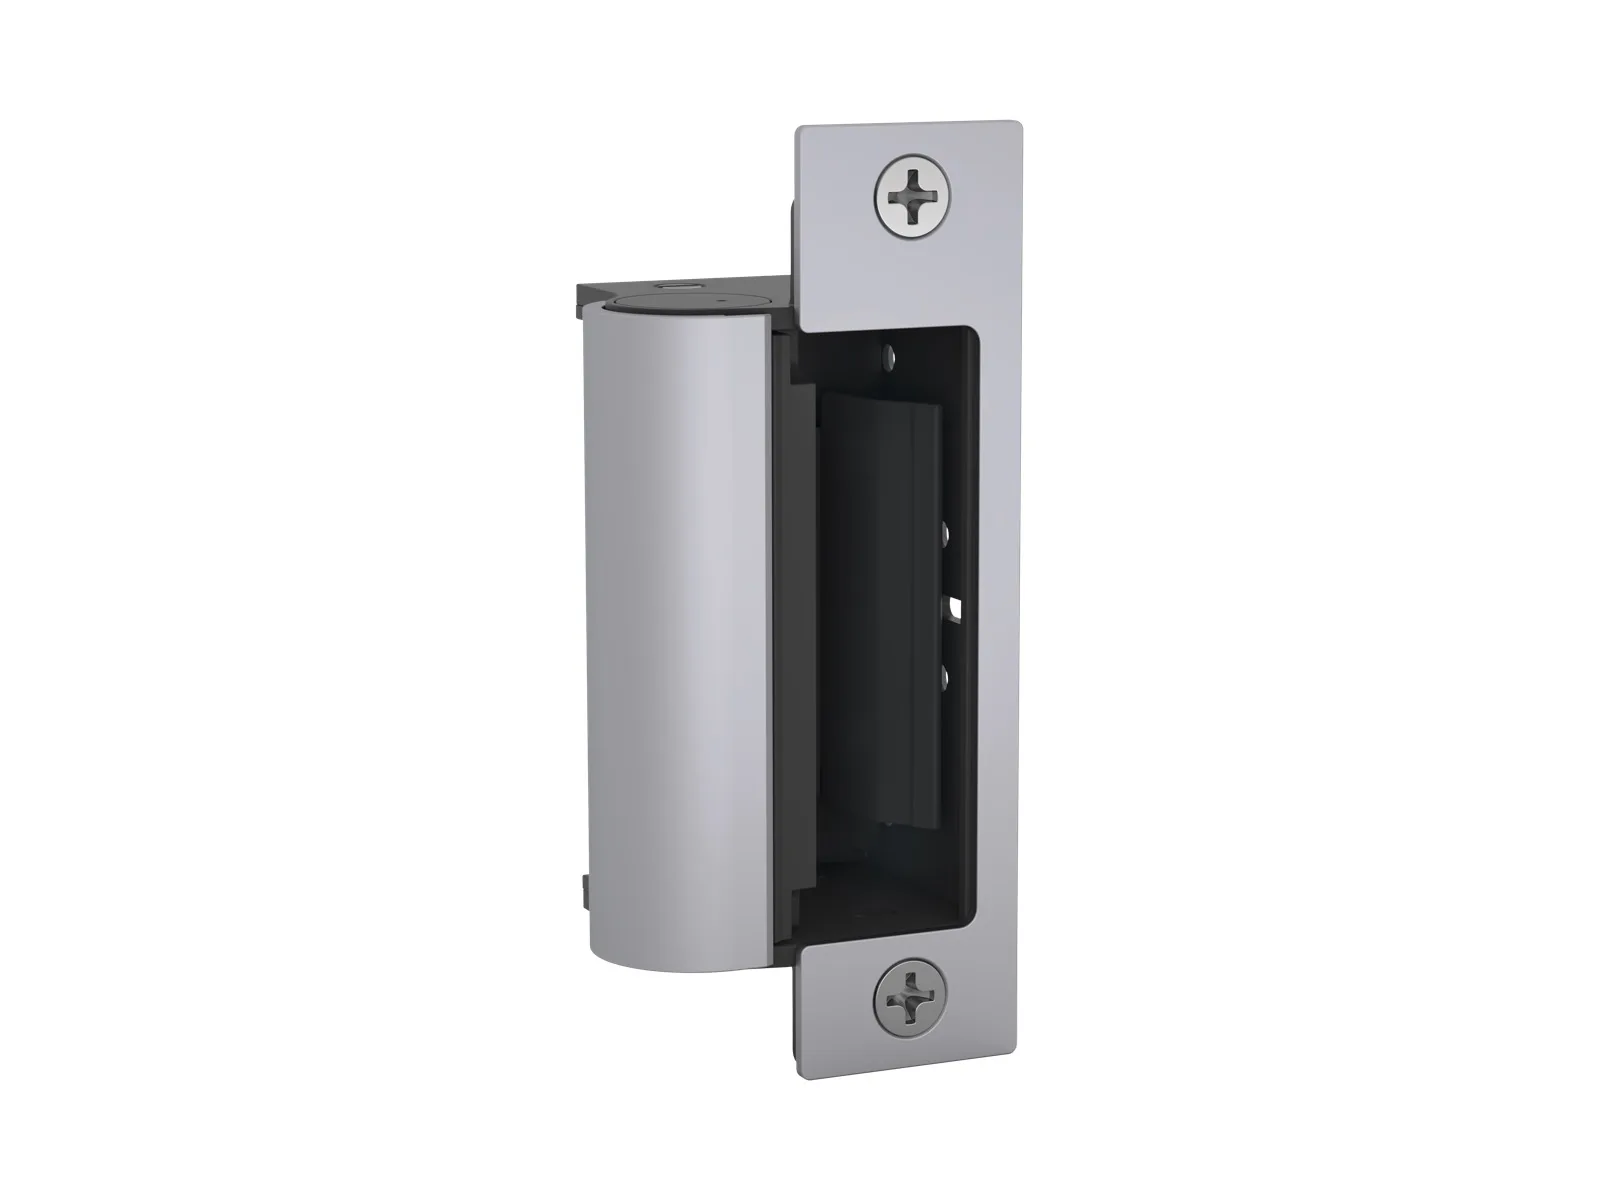
| Faceplate | Strike series | Jamb, or size and corners | Used with, per HES |
|---|---|---|---|
| 1006LB Series | 1006 | Metal jamb cutout | Normally used with mortise locks without a deadbolt; not used with Schlage L9000 or ASSA ABLOY ACCENTRA 8700 Series (formerly Yale Commercial) |
| 1006DB Series | 1006 | Metal jamb cutout | Normally used with mortise locks with a deadbolt; also used with Schlage L9000 or ASSA ABLOY ACCENTRA 8700 Series |
| 1006-2 Series: J2, K2, KM2, N2, H2 and DB2 | 1006 | Wood jamb cutout | Wood jamb installation |
| 501 | 5000 | 5300 | 4-7/8" x 1-1/4", square corners | Cylindrical locksets in ANSI metal jambs |
| 501A | 5000 | 5300 | 4-7/8" x 1-1/4", radius corners | Cylindrical locksets or spring latches in aluminum frames |
| 502 | 5000 | 5300 | 7-15/16" x 1-7/16", radius corners | Cylindrical locksets or spring latches in aluminum frames |
| 503 | 5000 | 5300 | 6-7/8" x 1-1/4", radius corners | Cylindrical locksets or spring latches in aluminum frames |
| 504 | 5000 | 5300 | 10" x 1-3/8", radius corners | Cylindrical locksets; four-point mounting for wood installations |
| 801 | 8000 | 8300 | 4-7/8" x 1-1/4", square corners | Cylindrical locksets in ANSI metal jambs |
| 801A | 8000 | 8300 | 4-7/8" x 1-1/4", radius corners | Cylindrical locksets in aluminum frames |
| 802 | 8000 | 8300 | 7-15/16" x 1-7/16", radius corners | Cylindrical locksets in aluminum frames |
| 803 | 8000 | 8300 | 6-7/8" x 1-1/4", radius corners | Cylindrical locksets in aluminum frames |
| 805 | 8000 | 8300 | 9" x 1-3/8", radius corners | Cylindrical locksets; four-point mounting for wood installations |
Source HES's 1006, 5000 | 5300 Series and 8000 | 8300 Series installation sheets, and its 1006 and 5000 catalog pages.
No-cut strikes
Will a no-cut 8000 or 8300 fit my existing frame?
Both catalog pages describe the installation as removing the existing strike plate, adjusting the vertical alignment feature to the latchbolt centerline, and installing the strike.
The instructions say the strike with the 801 faceplate will fit right into most standard ANSI A115.2, 1" deep dustboxes requiring no cutting. A dustbox is the metal box behind a frame's strike opening; in an existing one, the installer is told to simply drill for wire connections.
HES says the strike is designed to work with an unmodified, plumb and square door frame, with a minimum 1/8" gap between door and frame. The sheet checks for frame twist with a carpenter's square against the door stop and the door face: the angle should ideally be 90 degrees and no more than 95, with shims if it is less than 90.
HES says the deadlatch, the small plunger beside the latch, must not interfere with the strike's ramps. Before mounting, the latchbolt should retract smoothly under slight pressure at a 45-degree angle to the door face; if it is damaged or doesn't, HES says the strike may not function properly.
In the final test, when energized, the keeper (the part of the strike that holds the latch) should release the latchbolt, which slides along the internal ramps to fully release as the door opens and the deadlatch drops.
The troubleshooting guide covers a latch released by the keeper but catching on the external ramps; its remedy, addressed to the installer, involves removing frame material between the ramps. HES says that guide is not designed as a substitute for the instructions that were shipped with the electric strike.
Source HES's 8000 and 8300 catalog pages, its 8000 | 8300 Series installation sheet and its 8000/8300 troubleshooting guide.
Surface-mounted strikes
What does a surface-mounted strike need?
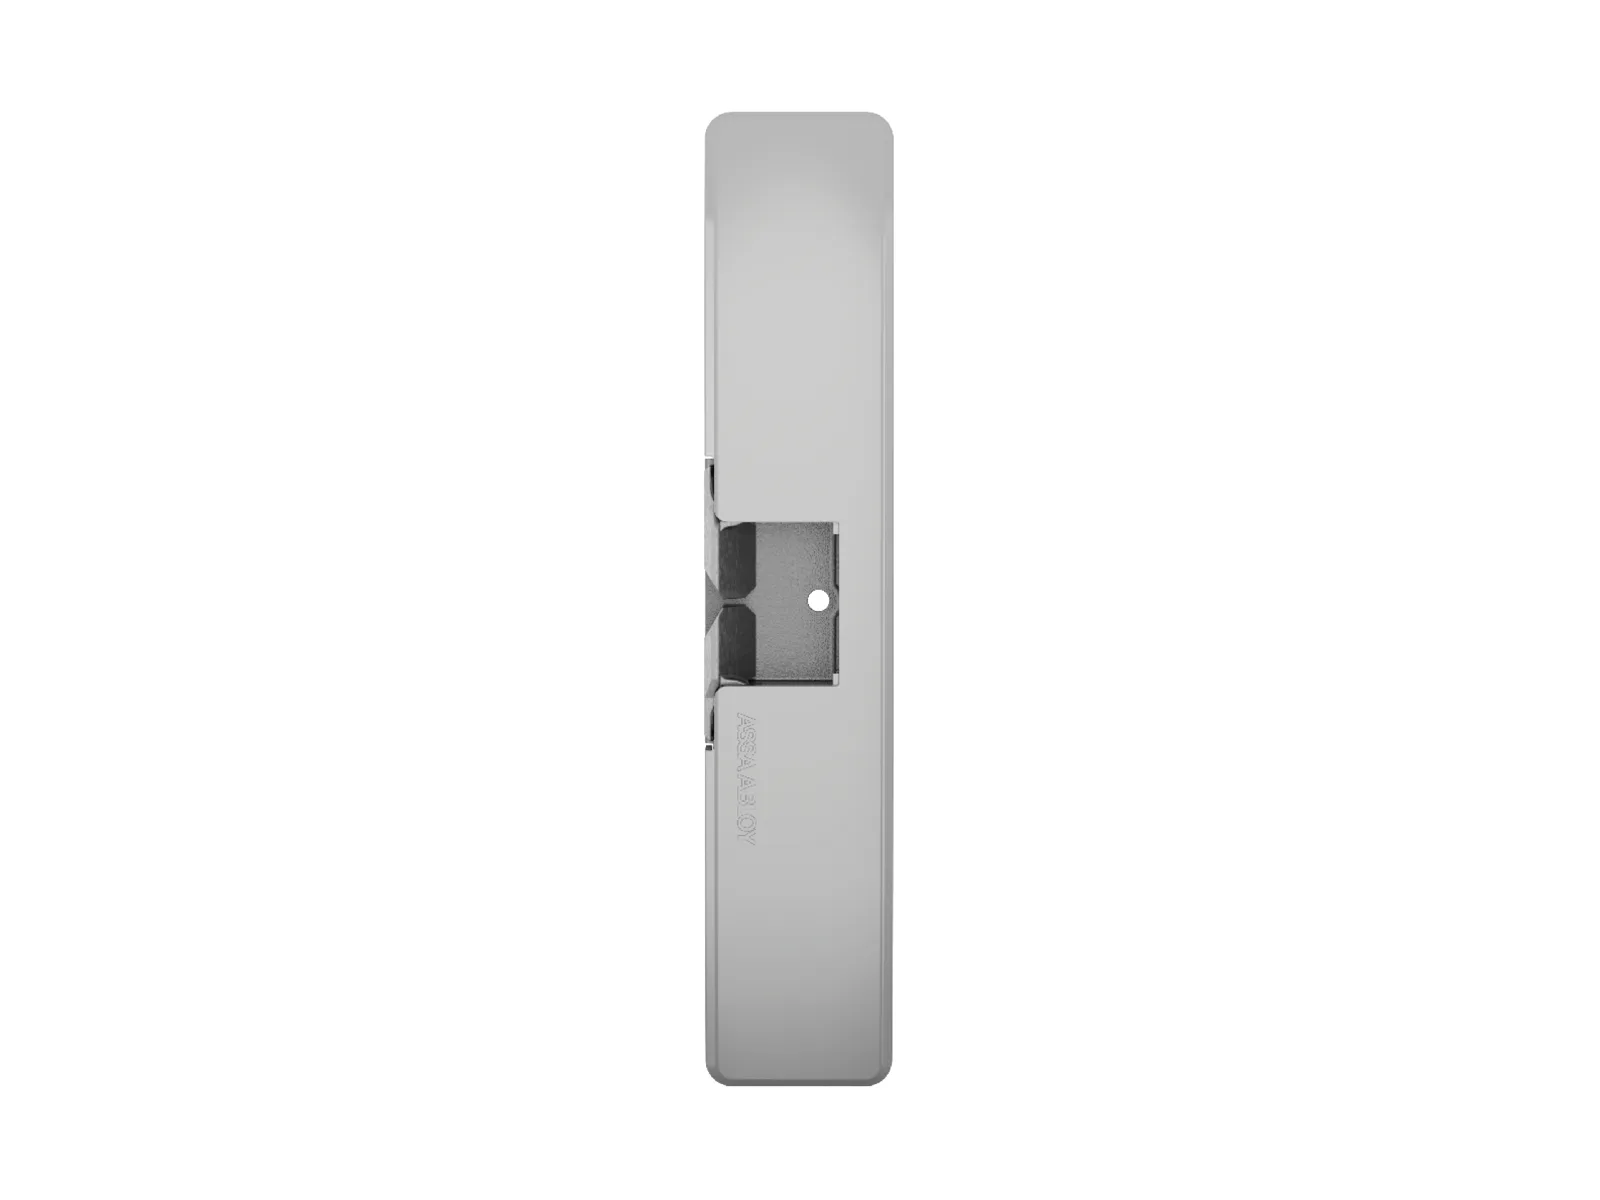
The combined sheet covers marking the latchbolt centerline and the holes on the frame, then punching, drilling and tapping the holes as required; the table lists the mounting screws.
On an aluminum frame with a blade stop (a narrow stop strip on the frame), the table's HES 9000-ASB is necessary. In retrofit applications, HES notes it may require the exit device (the push-bar door hardware) to shift horizontally towards the hinge side of the door.
After mounting, the sheet calls for a check of the latchbolt interaction with the keepers to ensure proper engagement and clearance; the table gives the set screws, the lockdown screw and HES's windstorm warning.
The 9800 also has its own installation sheet, which this page does not cover; the latchbolt check, set screws, lockdown screw and warning here apply to the other four series only.
| Item | What the sheet says | Series |
|---|---|---|
| Mounting screws | Two 1/4"-20 x 1" mounting screws provided | 9400, 9500, 9600, 9700, 9800 |
| HES 9000-MTK | For easy installation the HES 9000-MTK should be ordered (dimension drawing note) | 9400, 9500, 9600, 9700, 9800 |
| HES 9000-ASB | Sold separately; necessary to provide a secure installation when mounting on an aluminum frame with a blade stop | 9400, 9500, 9600, 9700, 9800 |
| Set screws | 10-32 set screws lock down the horizontal adjustment | 9400, 9500, 9600, 9700 |
| Lockdown screw | #10-24 UNC or 10-32 UNF (coarse or fine thread), optional, if additional security is required | 9400, 9500, 9600, 9700 |
| Windstorm rating | If no lockdown screw is used, the strike will not be windstorm rated and the windstorm label should be removed | Only the 9600 and 9700 |
Source HES's combined installation sheet for the 9400, 9500, 9600, 9700 and 9800.
Power
How is it powered?
All four sheets carry the same warning: before connecting any device at the installation site, verify input voltage using a multimeter. HES says any input voltage exceeding 10% of the solenoid rating may cause severe damage to the unit; the solenoid is the electric coil that works the strike.
VDC and VAC mean volts of direct and alternating current. Each sheet lists 12 and 24 volt plug in connectors (short wire leads called pigtails); the table gives what each is used for and the solenoid's continuous duty current. Where a sheet allows AC, it is intermittent duty, with a 10% maximum duty cycle and a 2 minute maximum on time.
The two sheets that allow AC also say the strike shall be powered by a UL 294 Class 2 power limited power supply, listed access control units or ULC-60839-11-1 Grade 1 listed access control units. They add: "Wiring methods shall be in accordance with the National Electrical Code (ANSI/NFPA70), local codes and the authorities having jurisdiction."
| Instruction sheet | Continuous duty solenoid, 12 VDC / 24 VDC | Pigtail marked 12 VDC is used for | Pigtail marked 24 VDC is used for |
|---|---|---|---|
| 1006 | .48 amps / .24 amps | 12 VDC | 24 VDC |
| 5000 | 5300 Series | .24 amps / .12 amps | 12 VDC; 12 VAC or 16 VAC, intermittent duty | 24 VDC; 24 VAC, intermittent duty |
| 8000 | 8300 Series | .24 amps / .12 amps | 12 VDC; 12 VAC or 16 VAC, intermittent duty | 24 VDC; 24 VAC, intermittent duty |
| 9400 to 9800 | 500 mA / 250 mA | 12 VDC | 24 VDC |
Source The power and voltage notes on HES's four installation sheets.
Wiring
What wire gauge do the instructions call for?
Each sheet gives a minimum wire gauge by run length at 12 VDC and at 24 VDC, with lengths based on a round trip, out to the strike and back.
| Instruction sheet | 200 feet or less | 200-300 feet | 300-400 feet |
|---|---|---|---|
| 1006 | 18 gauge / 18 gauge | 16 gauge / 18 gauge | 14 gauge / 16 gauge |
| 5000 | 5300 Series | 18 gauge / 20 gauge | 16 gauge / 18 gauge | 14 gauge / 16 gauge |
| 8000 | 8300 Series | 18 gauge / 20 gauge | 16 gauge / 18 gauge | 14 gauge / 16 gauge |
| 9400 to 9800 | 18 gauge / 22 gauge | 16 gauge / 22 gauge | 16 gauge / 20 gauge |
Source The wire gauge tables on HES's four installation sheets.
Monitoring
What do the latch monitor wires mean?
A latchbolt monitor (LBM) is an optional switch that reports on the door's latch in the strike. Its wire colors match on every strike in the table; the conditions they are stated for differ. The 1006 and four series on the combined sheet add a latchbolt strike monitor (LBSM) under the same note.
| Strikes | Latchbolt monitor (LBM) | Condition the sheet gives | Latchbolt strike monitor (LBSM) |
|---|---|---|---|
| 1006 | White common, orange normally open, green normally closed | Strike keeper closed and LBM in the unactuated (door open) position | Brown common, blue normally open, yellow normally closed |
| 5000 | 5300 Series | White common, orange normally open, green normally closed | Door open | Not reported on this page |
| 8000 | 8300 Series | White common, orange normally open, green normally closed | Door open | Not reported on this page |
| 9400, 9500, 9600 and 9700 (combined sheet) | White common, orange normally open, green normally closed | Unpowered strike and LBM in the unactuated (door open) position | Brown common, blue normally open, yellow normally closed |
Source The monitor wiring notes on HES's 1006, 5000 | 5300 Series, 8000 | 8300 Series and 9400 to 9800 installation sheets.
Fail mode and fire rating
What do fail safe and fail secure mean, and what matters on a fire door?
A fail secure strike stays locked when its power is off; a fail safe strike unlocks. Three sheets say the unit ships in fail secure mode and describe converting it; for the 1006, HES's catalog page lists fail secure as standard and fail safe as an option.
The table quotes the three sheets' fire rating notes; the 5000 and 8000 family sheets also say: "The system shall not be installed in the fail-secure mode unless permitted by local authority having jurisdiction and shall not interfere with the operation of Listed panic hardware."
The surface-mount sheet also warns: "FAIL SAFE OPERATION mode should not be used in fire rated or windstorm resistant applications."
The 5000 and 8000 family sheets include a check that the strike is in the correct mode of operation, fail secure or fail safe. The surface-mount sheet says that in fail safe operation both keepers should be unlocked without power and locked when power is applied.
| Strikes | As shipped or listed | Parts the sheet names for the fail safe conversion | What the sheet says about the fire rating |
|---|---|---|---|
| 1006 | Fail secure standard; fail safe an option (1006 catalog page) | Not reported on this page | Not reported on this page |
| 5000 | 5300 Series | Ships in fail secure mode | The two #2-56 screws on the back of the strike | "NOTE: Fire rating only applies to Fail Secure Units. Conversion to Fail Safe negates fire rating on 5300." |
| 8000 | 8300 Series | Ships in fail secure mode | The two #2-56 screws on the back of the strike | "NOTE: Fire rating only applies to Fail Secure Units. Conversion to Fail Safe negates fire rating on 8300." |
| 9400 to 9800 | Ships in fail secure mode | Two selector stop pins, one on each side, and a provided 5/64" hex key | "Converting the 9400 | 9500 | 9600 | 9700 Series Strike to Fail Safe Mode negates the unit’s fire rating." |
Source HES's 5000 | 5300 Series, 8000 | 8300 Series and 9400 to 9800 installation sheets, and its 1006 catalog page.
Service
Help with an HES electric strike
Elwin Security installs, repairs and replaces HES electric strikes as part of its electric strike, maglock and door release hardware service for commercial and multifamily properties in the San Francisco Bay Area. Calls are answered 8:00 AM-8:00 PM daily at (408) 539-0535.
FAQ
HES electric strike installation questions
Does an HES 8000 electric strike need the frame cut?
No. HES says no cutting on the frame is required for the 8000 Series, and that with the 801 faceplate it will fit right into most standard ANSI A115.2, 1" deep dustboxes.
Which HES faceplate is used on a wood frame?
For the 5000 and 8000 families, HES lists the 504 and the 805, each with four-point mounting for wood installations. The 1006 has its own wood jamb cutout and faceplates, listed in the faceplate table.
What wire gauge do HES's instructions call for?
For 200 feet or less, every sheet lists 18 gauge at 12 VDC. At 24 VDC the same length runs from 18 to 22 gauge depending on the sheet. HES bases the lengths on a round trip.
Does converting an HES strike to fail safe affect its fire rating?
Yes, on the series HES names. Its sheets say conversion to fail safe negates the fire rating on the 5300 and the 8300. The surface-mount sheet says the same of the four series its warning names, the 9400 to 9700.
Sources and further reading
These sources back up the general guidance. Your building and the people who approve the work decide the details for your doors.
- HES (ASSA ABLOY): 1006 Electric Strike Installation Instructions (3062006.006_3)
- HES (ASSA ABLOY): 5000 | 5300 Series Electric Strikes Installation Instructions (3019006.003_7)
- HES (ASSA ABLOY): 8000 | 8300 Series Electric Strikes Installation Instructions (3068006.003_6)
- HES (ASSA ABLOY): 9400 | 9500 | 9600 | 9700 | 9800 Electric Strike Installation Instructions & Frame Preparation (3026006.004_3)
- HES (ASSA ABLOY): HES 9800 | Adams Rite 7800 Electric Strike Installation Instructions (3026006.005_3)
- HES (ASSA ABLOY): 8000/8300 Series Electric Strike Troubleshooting Guide (3068006.002, Rev. 4)
- HES (ASSA ABLOY): 1006 Series Electric Strike Catalog Page (updated 6/11/25)
- HES (ASSA ABLOY): 5000 Series Electric Strike Catalog Page (updated 1/7/26)
- HES (ASSA ABLOY): 8000 Series Electric Strike Catalog Page (updated 1/7/26)
- HES (ASSA ABLOY): 8300 Series Electric Strike Catalog Page (updated 1/7/26)
- HES (ASSA ABLOY): 9600 Series Surface Mounted Electric Strike Catalog Page (updated 6/11/25)